
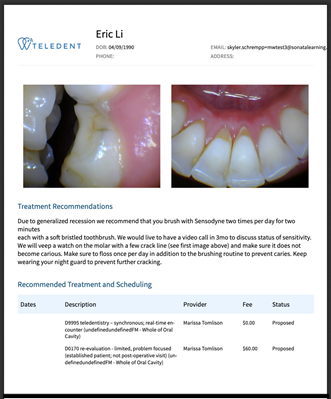
One of the unique features of TeleDent is the ability to create a comprehensive visual treatment plan including patient data, notes, and proposed procedures.
A visual treatment plan enhances communication with your patient and increases the likelihood that they will accept your recommendation and make an informed choice. The visual element of the treatment plan is more accessible to patients who may not comprehend complex clinical language. For example, a patient is more likely to agree to a crown if they see a picture of a fracture.
Moreover, a patient can easily share the plan with a significant family member, such as a spouse, who may not have been able to attend their appointment.
| Note: TeleDent will autofill your account's details, including your logo, at the top of a treatment plan. For information on managing your account details, click here. |
To create a visual treatment plan, do the following:
1. Navigate to the patient record and click on the Treatment Plans tab.

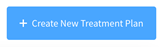
2. Click the “Create New Treatment Plan” button.
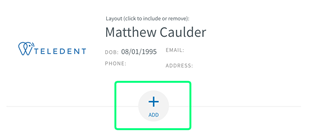
3. In the pop-up window, click the “Add” button to begin adding sections.
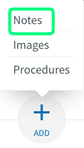
4. To add a note, select Note from the drop-down menu.
5. Enter a section title and body text in the provided fields.
6. To add images, select Images from the drop-down menu.
7. Enter a section title.
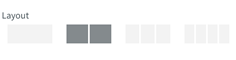
8. Choose a layout for your images.
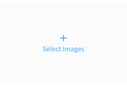
9. Click “Select Images” to begin inserting images.
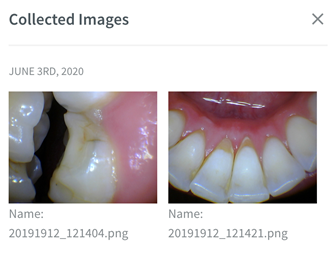
10. Select desired images.
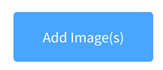
11. Click “Add Image(s).”
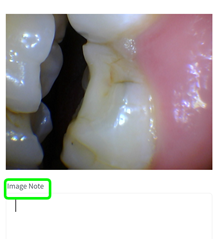
12. Add image notes in the provided field.
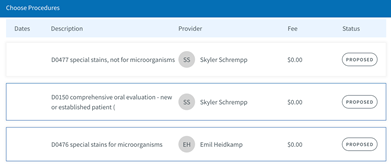
13. To add a procedure, select Procedures from the drop-down menu.
14. Enter a section title.
15. Click “Click to Add” to enter a procedure.

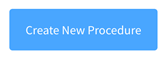
16. In the pop-up window click “Create New Procedure.”
17. Enter information for the procedure including:
- Procedure Code
- Provider
- Tooth Number
- Surface
- Area
- Start Date and End Date
- Fee
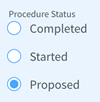
18. Select a status for the procedure.
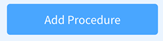
19. Click “Add Procedure” for as many procedures as you want to include in the treatment plan.
20. When the procedure(s) appear in the pop-up window, click to select.
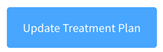
21. Click “Update Treatment Plan.”
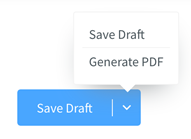
22. Click on the icons to duplicate, drag and drop, or delete a section.

23. Click “Save Draft” to save or “Generate PDF” to generate a PDF of the treatment plan.
24. Confirm or change the title.
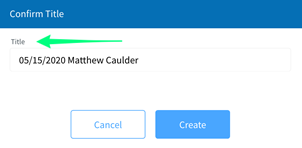
25. Click “Create.”
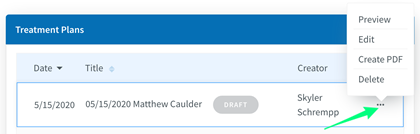
The treatment plan will now appear in the Treatment Plans panel of the patient record. You can preview, edit, create a PDF, or delete it at any time.
If you choose to create a pdf, make sure to click the “Finalize” button so that you can send the patient a copy through messaging and view it in the patient’s collected data.

| Note: You can use an image in a treatment plan as many times as you like. For instance, you can select one photo layout to reference a specific tooth and then add another section with the same image in a different layout. |